This feature is already available in our new administration portal. The new portal is currently in beta. Instructions for using the new portal can be found at the end of this article.
Assign users to a group
When adding single users (Enter single user) and for Import users from .csv file you can select or specify the group directly during import. You can also do this later in user management.
- To do this, select a user under Administration→ Users (left arrow in the image).
- Then switch to the Groups tab.
- Next, click on Assign (right arrow in the image).

- Then select the desired group(s) and assign them.

Assign local groups to users or devices
If you want to add users or devices to a group at a later date, proceed as follows:
- Under Administration→ Groups select a group (left arrow in illus.) and then click on Assign (right arrow in illus.).
- Then click on Assign users or Assign devices.

- Select the users (left-hand image) or devices (right-hand image) that you would like to add to the group and confirm with OK.
Note! We recommend that you do not mix users and devices within a group, i.e. always create user-only and device-only groups.

Note! Alternatively, you can specify one (or more) group(s) to which the users will be automatically added during the import.
Note! As soon as a user is subsequently added to a group, all properties of the group are automatically rolled out for him/her. Manual rollout is no longer necessary.
Change local group
- Select a group (left arrow in illus.).
- You can now use Assign or Unassign to switch the group membership of the users.

NEW ADMINISTRATION PORTAL: Adding users to groups
The new administration portal is currently in the beta phase. You are welcome to send us your feedback on the new portal using the corresponding button (at the bottom left of the new administration portal).
When adding single users (Enter single user) and for Import users from .csv file you can select or specify the group directly during import. You can also do this later in user management.
Adding users in the user administration
- Open the user management by clicking on Users (left column in illus.).
- Select one or more users (left arrow in illus.).
- Then click on Edit (right arrow in illus.).

- Open the Groups tab (right arrow in illus.). All groups in which the user is already a member are listed here (example in illus.).
- If you would like to assign a (further) group to the user, click on Add (left arrow in illus.).

- Then select the desired group(s) (upper arrow in illus.) and click on Assign (lower arrow in illus.).
- You can switch between groups as desired by checking and unchecking the checkboxes.

Adding users in the group management
- Open the group management by clicking on Groups (left column in illus.).
- Select one or more groups (left arrow in illus.).
- Then click on Edit (right arrow in illus.).

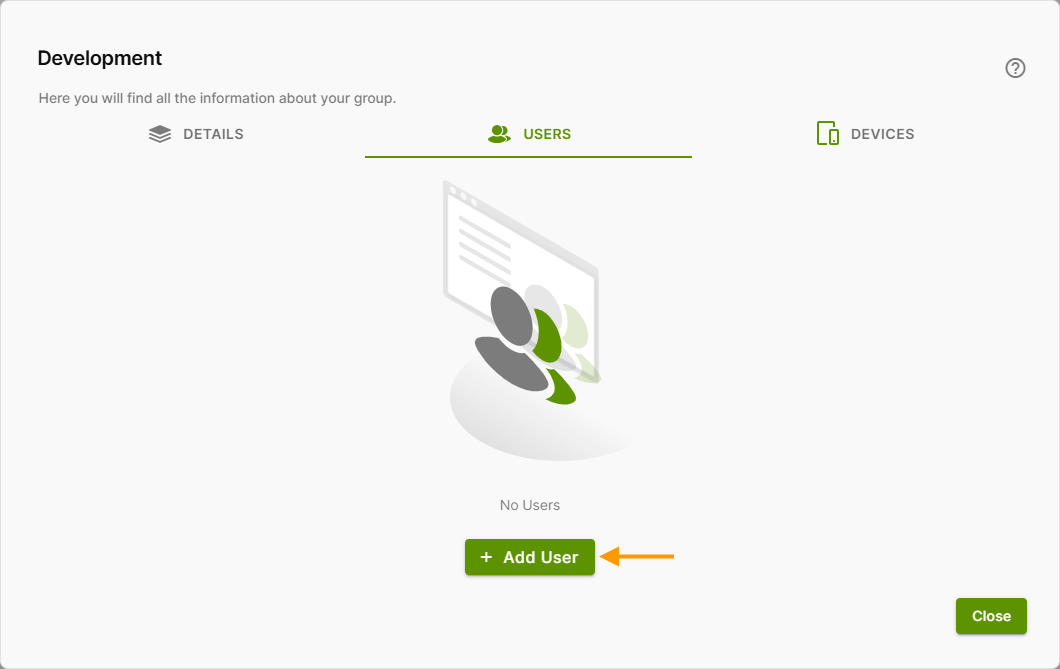
- Open the Users tab. All users who are already members of the group are listed here. In this case, click on Assign (no illus.).
- If there are no users yet, click Add User (arrow in illus.).
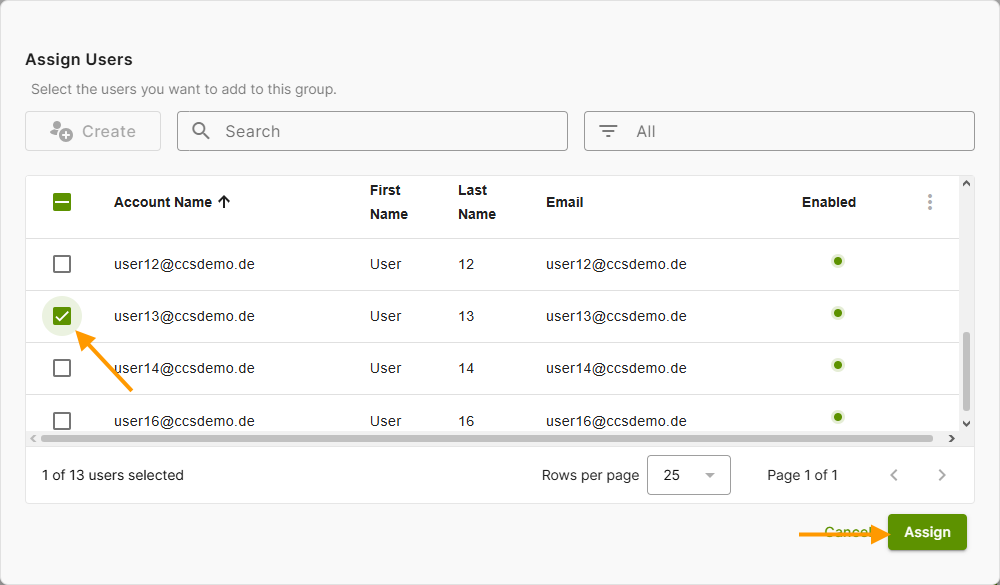
- Now select the users you want to add to the group (left arrow in the image).
- Then click Assign (right arrow in the image).
Note: Entra users can also be added to local groups.
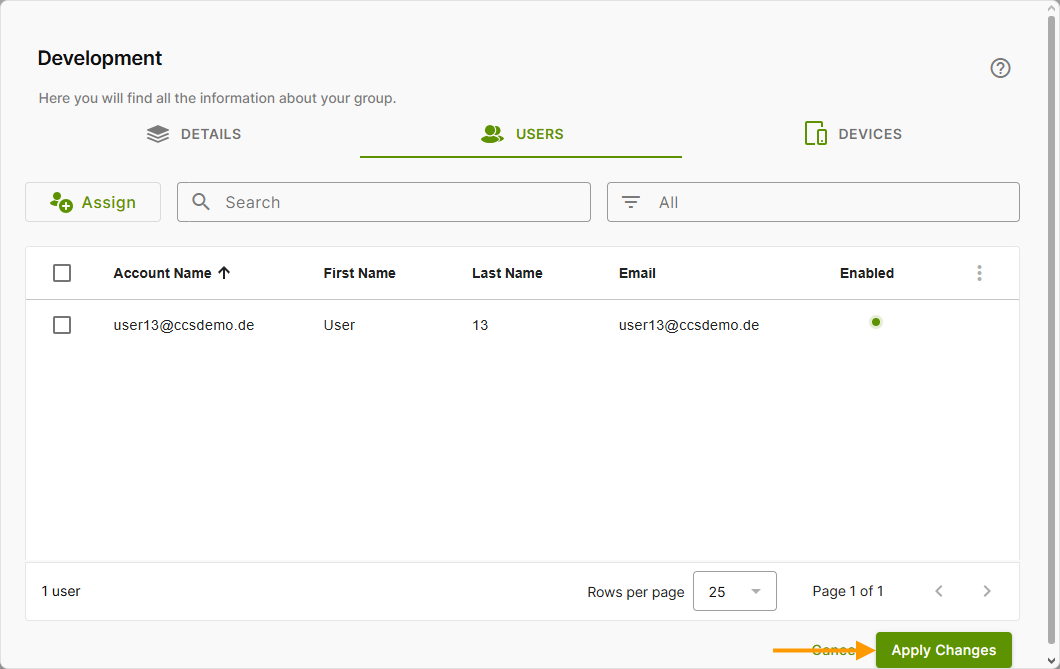
- You will then find the members of the group in the overview.
- To save your changes, click on Apply changes (arrow in the image).
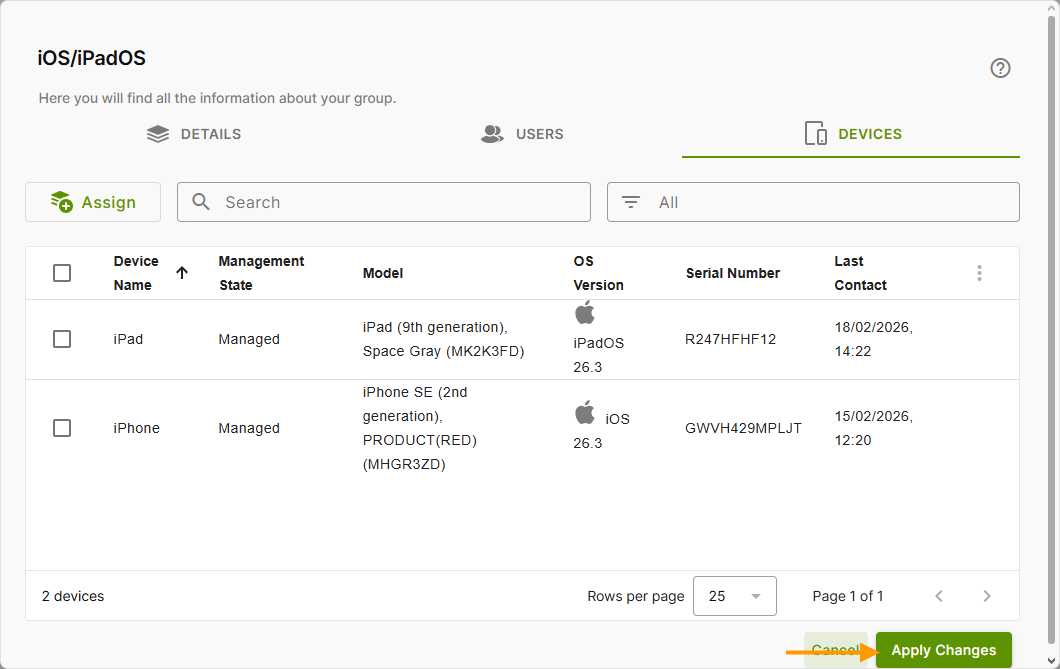
- You can add devices to a group in exactly the same way.
- To do this, open the Devices tab and click on Assign (arrow in illus).
- If no devices belong to the group yet, click on Add devices (no image).
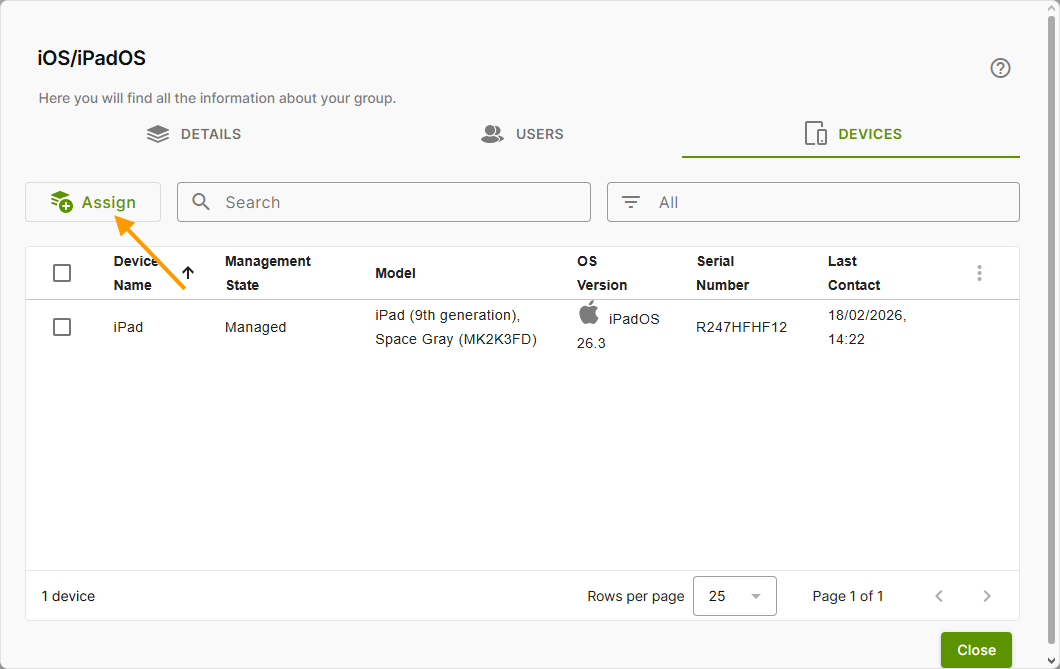
- Select the desired device (left arrow in the image) and then click Assign (right arrow in the image).
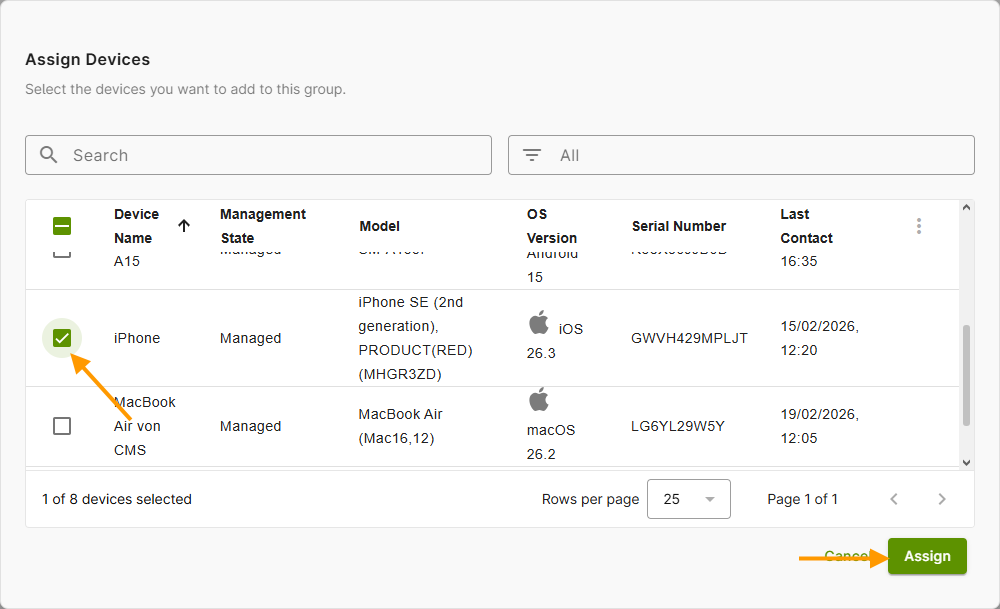
- You will then find the devices belonging to the group in the overview.
- Click on Apply changes (arrow in the image) to save your changes.